DIY Historic Wood Window Restoration: A Step-by-Step Guide for Homeowners
Introduction: Preserving the Past, Securing the Future
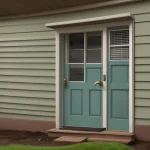
Historic wood windows represent more than mere architectural details; they are tangible links to our past, embodying the artistry and dedication of previous generations. Each window tells a story, reflecting the evolution of design and craftsmanship. Yet, the relentless assault of weather, neglect, and well-intentioned but misguided renovations often leads to deterioration, manifesting as rot, peeling paint, and diminished energy efficiency. Replacing these windows with modern, albeit more efficient, alternatives often diminishes a home’s historical integrity, erasing a vital piece of its narrative.
This article champions historic home preservation by empowering homeowners with a comprehensive, step-by-step guide to historic window restoration DIY. Wood window repair, when approached thoughtfully, offers a sustainable and historically sensitive solution. Rather than discarding original materials, restoration focuses on repairing and preserving what remains, extending the lifespan of these architectural treasures. Mastering techniques like wood window glazing and employing careful historic home maintenance not only retains the aesthetic charm but also contributes to the overall value and character of the property.
Furthermore, understanding the nuances of historic window repair ensures that any interventions are sympathetic to the original design, preserving the window’s authentic appearance and functionality. This guide seamlessly blends time-honored techniques with modern innovations to enhance energy efficiency without compromising historical accuracy. We delve into the art of DIY window restoration, exploring methods to improve insulation, reduce air infiltration, and minimize heat loss. By embracing energy-efficient historic windows, homeowners can enjoy the best of both worlds: a beautifully preserved historic home and a comfortable, sustainable living environment. Think of historic window restoration as system repair, far easier and more rewarding than a full reinstall of your home’s historical character. The journey not only preserves the past but also secures a more sustainable future for our architectural heritage.
Assessing Window Condition: Identifying Damage
Before embarking on your historic window restoration DIY journey, a meticulous assessment of each window is paramount. This initial evaluation serves as the blueprint for your wood window repair strategy, guiding your material selection and repair techniques. Begin by visually scrutinizing the wood components, paying particular attention to the bottom of the sashes, where moisture tends to accumulate, and the points where the wood meets the glass, often concealed by failing glazing. Probe any suspect areas with a small awl or screwdriver.
If the wood yields easily, exhibiting a soft or spongy texture, it’s a clear indicator of rot. Remember, early detection is key in historic home maintenance; addressing minor rot issues promptly prevents them from escalating into costly structural repairs. Paint failure is another critical area to examine. Peeling, cracking, and blistering paint not only detract from the aesthetic appeal of your historic windows but also expose the underlying wood to the elements, accelerating deterioration. Note the extent and type of paint failure, as this will influence your paint stripping method.
For instance, extensive cracking might necessitate a more aggressive approach, while minor blistering could be addressed with careful scraping and spot priming. Simultaneously, inspect the glazing for cracks, gaps, or missing putty. Deteriorated glazing compromises the window’s seal, allowing air and moisture infiltration, which diminishes energy efficiency and contributes to wood rot. Understanding window glazing techniques and identifying specific glazing failures are crucial for effective restoration. Finally, turn your attention to the glass itself. Carefully check for cracks, chips, or breaks, which can compromise the window’s structural integrity and energy performance.
While hairline cracks might be considered acceptable in some cases, larger cracks or breaks necessitate replacement. When replacing glass in historic windows, strive to match the original type and thickness as closely as possible to maintain the window’s historical character. Documenting all these issues with detailed photographs and written notes is an essential step in historic home preservation. This documentation will serve as a valuable reference throughout the DIY window restoration process, ensuring you stay on track and address all identified problems effectively. Consider creating a spreadsheet to track the condition of each window, noting specific areas of concern and the planned course of action. This systematic approach will not only streamline the restoration process but also provide a record of your efforts, which can be beneficial for future maintenance and potential property value assessments. Addressing these issues improves energy-efficient historic windows.
Essential Tools and Materials: Setting Up for Success
Successful historic window restoration DIY hinges on having the right tools and materials readily available. The investment in quality tools upfront will pay dividends in the form of a smoother, more efficient, and ultimately more satisfying restoration process. Essential tools include a heat gun (for safe and effective paint removal, especially important in historic home maintenance), a sturdy putty knife, an assortment of scrapers (various sizes and shapes for different profiles), a palm sander for smoothing surfaces, sharp wood chisels for detailed work, a reliable hammer, a set of screwdrivers (various sizes, including both flathead and Phillips), a glazing knife for applying glazing compound, a caulk gun, high-quality paintbrushes, essential safety glasses, durable gloves, a dust mask or respirator, and, critically, a lead paint test kit to ensure safe handling of potentially hazardous materials.
Beyond the tools, the selection of appropriate materials is equally crucial for successful wood window repair. Essential materials include boiled linseed oil (a traditional wood preservative), high-quality wood filler or epoxy for repairing damaged wood, glazing compound for setting glass panes (mastering wood window glazing techniques is key), paint stripper (if opting for chemical removal instead of a heat gun), an assortment of sandpaper grits for achieving a smooth finish, a primer specifically formulated for exterior wood, exterior-grade paint that complements the historic aesthetic, durable weather stripping to improve energy-efficient historic windows, and replacement sash cords or chains if the originals are worn or broken.
Prioritize high-quality materials specifically designed for exterior use to ensure longevity and weather resistance, contributing to effective historic home preservation. Choosing the right glazing compound is particularly important for historic window repair. Traditional oil-based compounds offer excellent adhesion and longevity, but require a longer drying time. Modern latex-based compounds are easier to apply and clean up, but may not last as long. Research and select a compound that balances ease of use with long-term performance. Similarly, when selecting paint, consider breathable paints that allow moisture to escape, preventing rot and extending the life of the wood. Investing in premium-quality materials, while potentially more expensive initially, ultimately saves time and money by reducing the need for frequent repairs and ensuring the long-term health and beauty of your historic windows, an essential aspect of DIY window restoration.
Step-by-Step Restoration: A Practical Guide
Follow these steps for a successful historic window restoration DIY project, ensuring both historical accuracy and improved performance. 1. **Removal:** Carefully remove the window sash from the frame. This usually involves removing stops or parting beads, which are often held in place with small nails. Use a thin, flexible putty knife to gently pry them loose, working slowly to avoid splitting the wood. Note the order in which you remove them, as they often need to be reinstalled in the same sequence.
Take photographs as you disassemble the window; this simple step can be invaluable when you’re ready to reassemble everything. 2. **Paint Stripping:** Use a heat gun or chemical stripper to remove old paint layers. A heat gun is often preferred for historic home maintenance as it avoids harsh chemicals that can damage the wood and surrounding environment. However, exercise caution to prevent scorching the wood. Work in a well-ventilated area and wear appropriate safety gear, including a respirator mask, especially when dealing with older homes where lead paint is a concern.
Test the paint for lead before beginning any work. 3. **Wood Repair:** Repair any rotted or damaged wood using epoxy or wood filler, a critical step in wood window repair. For small repairs, wood filler is sufficient to fill nail holes or minor imperfections. For larger areas, epoxy provides superior strength and durability, effectively consolidating weakened wood fibers. When using epoxy, follow the manufacturer’s instructions carefully, paying close attention to mixing ratios and curing times.
Consider using a two-part epoxy specifically designed for wood restoration, as these products often contain fungicides to prevent future rot. 4. **Sanding:** Sand the wood surfaces smooth, starting with a coarser grit sandpaper (80-100 grit) to remove any remaining paint residue or imperfections, and gradually moving to finer grits (150-220 grit) to achieve a smooth, paintable surface. A palm sander can be helpful for larger, flat surfaces, but be careful not to round over any sharp edges or details.
For intricate moldings or carvings, use hand sanding blocks or flexible sanding sponges to maintain the original profiles. Always sand in the direction of the wood grain to avoid scratching. 5. **Glazing:** Remove old, cracked, or missing glazing compound and replace it with new compound, a vital aspect of window glazing techniques. Use a heat gun to soften the old glazing, making it easier to remove with a putty knife. Apply the new compound evenly and smoothly using a glazing knife, creating a watertight seal between the glass and the wood.
Allow the glazing compound to cure fully before priming and painting, following the manufacturer’s recommendations for drying times. Consider using a traditional oil-based glazing compound for historic accuracy, or a modern synthetic compound for improved durability and flexibility. 6. **Priming and Painting:** Apply a high-quality exterior primer, followed by two coats of exterior paint, crucial steps in historic window repair. Use a primer specifically designed for wood to seal the surface and provide a good base for the paint.
Choose a paint that is durable, weather-resistant, and compatible with the primer. Consider using a historically appropriate paint color to maintain the architectural integrity of your home. Apply the paint in thin, even coats, allowing each coat to dry completely before applying the next. 7. **Re-installation:** Re-install the sash into the window frame, ensuring it operates smoothly. Replace any worn sash cords or chains, a common issue in older windows. Ensure the sash balances properly and moves freely within the frame.
Lubricate the tracks with a silicone-based lubricant to reduce friction and improve operation. Properly functioning windows contribute significantly to energy-efficient historic windows. Before re-installing, consider adding weather stripping to further improve energy efficiency and reduce drafts. Beyond these core steps, consider the long-term benefits of your DIY window restoration efforts. Properly restored windows not only enhance the aesthetic appeal of your historic home but also significantly improve its energy efficiency. By addressing air leaks and ensuring a tight seal, you can reduce heating and cooling costs, contributing to a more sustainable and comfortable living environment.
Furthermore, regular maintenance and upkeep, such as periodic cleaning and touch-up painting, will help to extend the life of your restored windows and preserve their historical integrity for generations to come. Embrace the opportunity to learn about the history of your home and the craftsmanship of its original windows, making your DIY project a truly rewarding experience in historic home preservation. Also, don’t underestimate the importance of proper disposal of old materials, especially if lead paint is present.
Check with your local municipality for guidelines on how to safely dispose of lead-contaminated waste. Consider investing in a HEPA vacuum to clean up any dust or debris generated during the restoration process. This will help to minimize the risk of lead exposure and ensure a safe working environment. Remember, safety should always be a top priority when undertaking any DIY project, especially when dealing with historic materials. By taking the necessary precautions, you can protect yourself and your family while preserving the beauty and heritage of your historic home. DIY window restoration is a rewarding endeavor, contributing significantly to historic home maintenance.
Preserving Original Components: Honoring History
Preserving original window components and hardware is paramount to maintaining the historical integrity of your home. These elements are not merely functional; they are tangible links to the past, reflecting the craftsmanship and design sensibilities of their era. Carefully remove and clean original hardware, such as hinges, latches, and sash lifts. Document their original placement before removal to ensure accurate reinstallation. Soak them in a rust remover or vinegar solution to remove corrosion, taking care to avoid harsh chemicals that could damage delicate finishes.
For heavily tarnished brass or bronze, consider using specialized metal polishes designed for antiques, but always test in an inconspicuous area first. This meticulous attention to detail is a hallmark of responsible historic home maintenance and significantly enhances the value and authenticity of your property. When replacing sash cords or chains, prioritize materials that are similar in appearance and function to the originals. Cotton sash cord, for instance, is a traditional choice that offers both durability and a period-appropriate aesthetic.
Avoid using modern synthetic cords, which can detract from the window’s historical character. Similarly, when addressing broken or damaged window pulleys, seek out replacements that match the original design and material. Many specialized suppliers cater to historic window restoration DIY projects, offering a wide range of authentic hardware and components. Investing in these details demonstrates a commitment to historic home preservation and ensures the longevity of your wood window repair efforts. Avoid replacing original glass unless absolutely necessary.
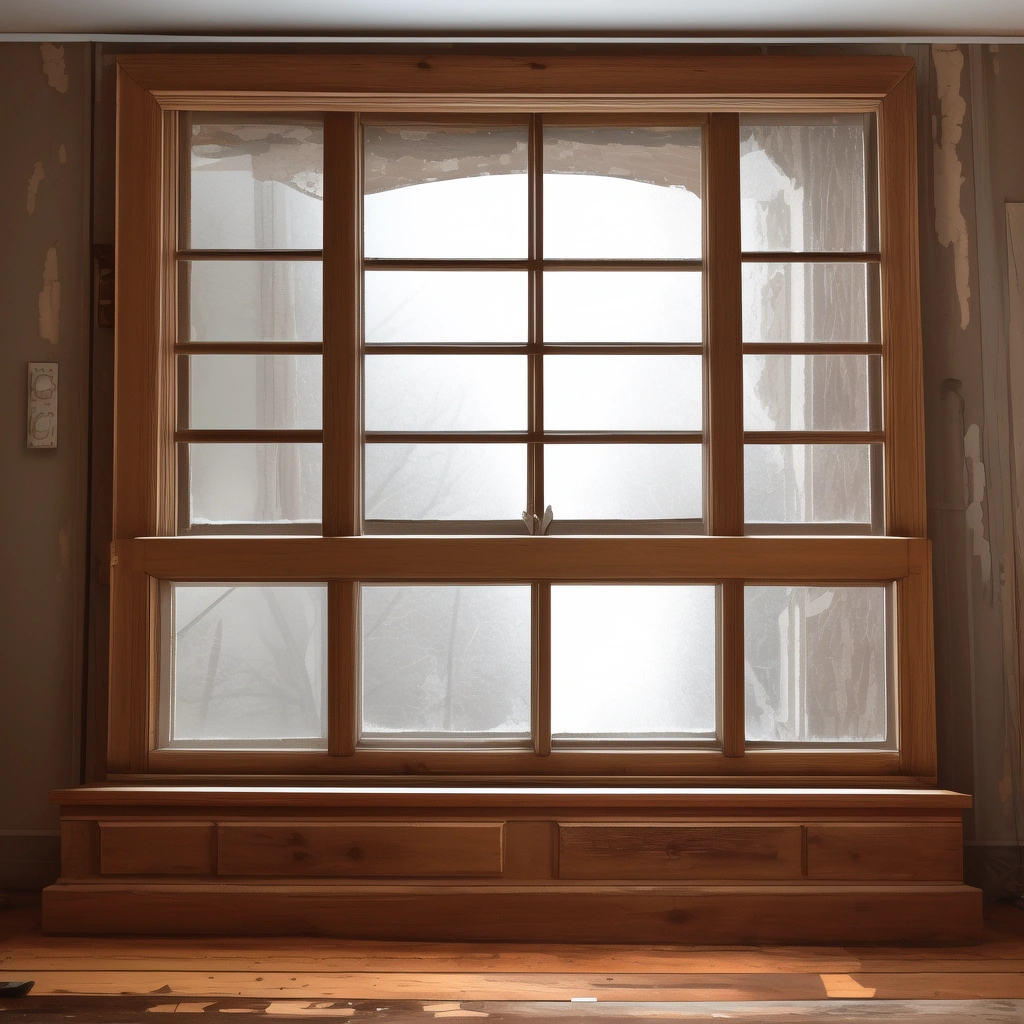
Original window glass often possesses subtle imperfections and a charming wavy appearance that is impossible to replicate with modern manufacturing techniques. These imperfections are not flaws but rather evidence of the glass’s age and authenticity. If replacement is unavoidable due to cracks or damage, consider using restoration glass, which is specifically manufactured to mimic the look of antique glass. Proper window glazing techniques are essential for securing the glass and maintaining a weathertight seal. Use a high-quality glazing compound formulated for historic windows, and apply it carefully to create a smooth, beveled edge. This attention to detail not only preserves the window’s historical appearance but also contributes to its energy-efficient historic windows performance.
Troubleshooting: Addressing Common Problems
Even the most meticulous historic window restoration DIY project can present unforeseen challenges. Difficult paint removal is a frequent hurdle. Years of accumulated paint layers, often hardened and brittle, can resist even the most aggressive heat guns and chemical strippers. Before resorting to potentially damaging techniques, consider a multi-pronged approach. Start with a low-temperature heat gun to soften the initial layers, followed by careful scraping with a sharp, flexible putty knife. Stubborn areas may benefit from a citrus-based paint stripper, which is gentler on the wood than harsher chemical alternatives.
Remember to always test a small, inconspicuous area first to assess the stripper’s impact on the wood and any underlying finishes. Patience and persistence are key; avoid the temptation to rush, as this can lead to gouging or damaging the delicate wood profiles. Extensive rot, particularly in the lower sash corners and meeting rails, is another common problem. While minor surface rot can be addressed with epoxy wood consolidants and fillers, significant structural damage necessitates more extensive wood window repair or even sash replacement.
Accurately assessing the extent of the rot is crucial. Probe deeply with an awl to determine how far the decay extends. If the rot penetrates more than half the wood’s thickness, consider consulting a professional carpenter specializing in historic home maintenance. They can expertly splice in new wood, ensuring a seamless and structurally sound repair that preserves the window’s original appearance. Ignoring extensive rot can compromise the window’s integrity and lead to further damage over time.
Broken or cracked glass requires careful attention. Historic glass often has subtle imperfections and a unique wavy texture that contributes to the window’s character. When possible, attempt to salvage the original glass. Small cracks can sometimes be repaired by a professional glass restorer. However, if the glass is shattered or severely damaged, replacement is necessary. When sourcing replacement glass, consider using restoration glass, which is specifically manufactured to replicate the look and feel of antique glass.
Proper window glazing techniques are essential for a weathertight seal. Use a high-quality glazing compound formulated for historic windows, and ensure it is properly adhered to both the glass and the wood. A well-glazed window not only protects against the elements but also enhances energy efficiency. Finally, difficulty re-installing the sash after restoration can be frustrating. This often indicates warping in the frame or sash, or an accumulation of paint buildup. Carefully inspect the frame and sash for any obstructions or irregularities.
A light sanding of the frame’s interior edges may be sufficient to create the necessary clearance. If warping is the issue, a professional carpenter may be able to straighten the sash or frame using specialized techniques. Ensure the sash cords or chains are properly attached and functioning smoothly. Proper alignment and smooth operation are essential for both the window’s functionality and its long-term preservation. Remember that historic home preservation is about respecting the past while ensuring a functional future.
Improving Energy Efficiency: Modern Solutions, Historical Sensitivity
While preserving historical accuracy is important, improving energy efficiency is also a key consideration for historic home maintenance. Several options exist for enhancing energy performance without compromising the historical character of your windows. A crucial first step is to address air infiltration. Install high-quality weather stripping around the sash and frame to minimize air leaks, paying close attention to the meeting rails and jambs. Modern weather stripping options are available in materials and profiles that are discreet and compatible with historic windows, ensuring a tight seal without detracting from the window’s original appearance.
This simple measure can dramatically reduce drafts and energy loss, contributing significantly to overall comfort and savings. Consider adding storm windows as another effective method for boosting energy efficiency. Exterior storm windows provide an extra layer of insulation, creating a buffer against extreme temperatures. Low-E storm windows can further enhance energy efficiency by reducing heat transfer and blocking harmful UV rays, which can fade interior furnishings. Interior storm windows are also an option, particularly in situations where exterior alterations are restricted.
When selecting storm windows, prioritize those with clear glass and narrow frames to minimize visual impact on the historic facade. Historic window restoration DIY projects frequently benefit from incorporating these storm window solutions. Finally, ensure that the windows are properly glazed and that any gaps or cracks are sealed using appropriate window glazing techniques. Deteriorated glazing putty allows air and moisture to penetrate, leading to further wood decay and energy loss. When re-glazing, use a traditional oil-based glazing compound that is compatible with historic wood and adheres properly to the glass.
For larger gaps or cracks around the window frame, use a paintable sealant specifically designed for historic homes. These measures, combined with careful attention to detail, can significantly improve energy efficiency without altering the appearance of your historic windows and are important parts of wood window repair and historic home preservation. By making informed choices about energy-efficient historic windows, homeowners can balance the desire for comfort and savings with the imperative to protect their home’s architectural heritage. DIY window restoration and wood window glazing are effective ways to improve your home.
Safety Precautions and Lead Paint Abatement: Prioritizing Well-being
Safety is paramount when restoring historic windows, a task that often involves working with materials and conditions not typically encountered in modern home improvement projects. Always wear safety glasses and gloves to protect yourself from flying debris, sharp objects, and potentially harmful substances. Given the age of these windows, lead paint is a significant concern. Take appropriate precautions to prevent lead exposure, as lead dust and fumes can pose serious health risks. A properly fitted respirator mask with HEPA filters is essential, and the work area should be meticulously sealed off with plastic sheeting to contain any lead dust generated during paint removal or sanding.
Dispose of lead-contaminated materials properly according to local regulations; contact your local waste management authority for guidance. If you are unsure whether your windows contain lead paint, have them tested by a certified professional before commencing any work. Remember, prioritizing safety not only protects your health but also ensures the long-term preservation of your home’s historic fabric. Beyond lead paint, consider other potential hazards inherent in historic home maintenance. Decades of accumulated dirt, mold, and even asbestos (in older glazing compounds) can be present.
A thorough cleaning with appropriate detergents and disinfectants is advisable before beginning any restoration work. Adequate ventilation is crucial, especially when using chemical strippers or solvents for paint removal. According to the Environmental Protection Agency (EPA), proper ventilation can reduce exposure to harmful fumes by as much as 80%. Furthermore, be mindful of structural integrity; weakened or rotted wood can pose a collapse risk. Always assess the stability of the window frame and surrounding structure before applying any force or pressure.
If significant structural issues are identified, consult a qualified carpenter specializing in historic home preservation. Moreover, remember that safety extends beyond personal protection to the protection of the historic window itself. Employ gentle techniques when removing old paint or glazing to avoid damaging the delicate wood profiles or original glass. Use the right tools for the job; a dull scraper can cause gouges and scratches, while excessive heat from a heat gun can scorch the wood.
Document each step of the restoration process with photographs; this will not only provide a visual record of your progress but also serve as a reference for future repairs or maintenance. As a final note, consider the impact of your work on the environment. Opt for eco-friendly paint strippers, low-VOC paints, and sustainable wood repair products whenever possible. Historic window restoration DIY is a rewarding endeavor, blending historic home preservation with energy-efficient historic windows, but it demands a commitment to safety, meticulous craftsmanship, and environmental responsibility. Proper safety measures ensure a safe and successful historic window repair project, contributing to the longevity and beauty of your historic home.